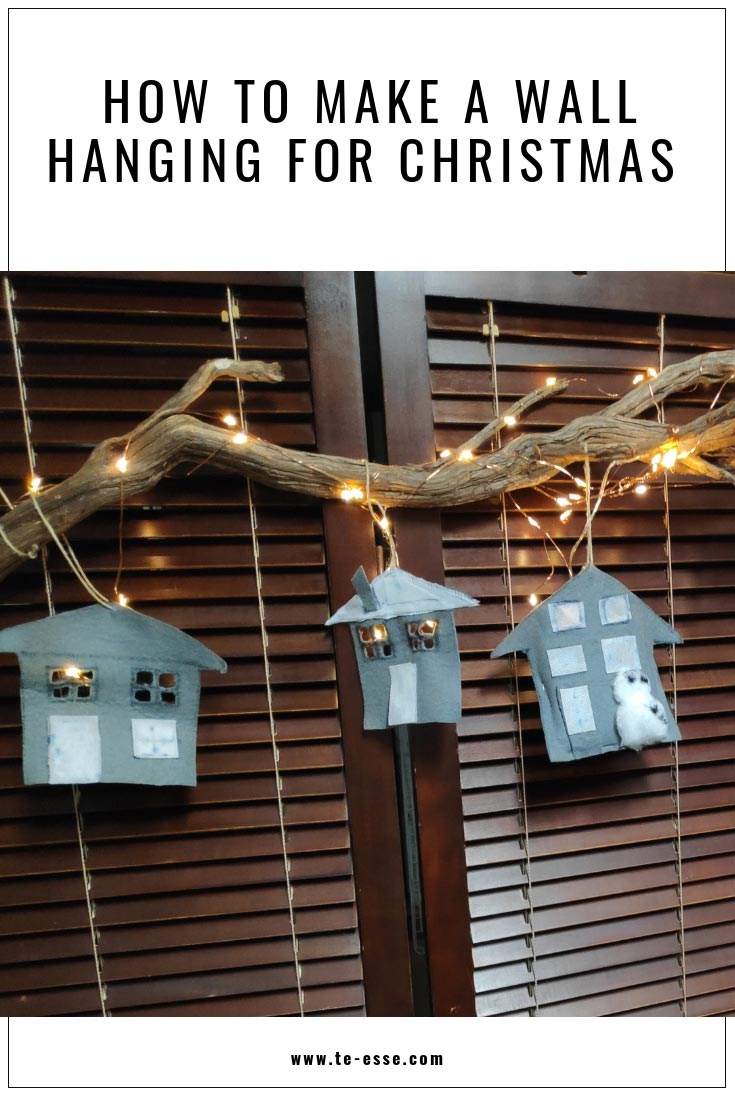
Christmas may be just around the corner, but there’s always time for a small DIY project that you can pull off with or without the help of your kids. When schools close for the holiday break, then doing a few DIY projects with your kids might be life-saving. For starters it is a great way to get everyone involved and creative. It is also a good opportunity to spend some quality time bonding. It will definitely keep children busy in a mindful way and this little DIY Christmas village wall-hanging won’t break the bank. It uses a wooden foraged branch and the aim is to create various houses that will hang from it. It is very budget friendly, for many of you may already own most of the materials you’ll need.

I always think of Christmas as a holiday where families get together to spent some quality time at home. Houses are usually lit and decorated in a festive way. Therefore, I got the idea of creating a number of different homes, like a tiny Christmas village, where the fairy lights will give the illusion that the houses are lit and decorated for Christmas. (More Beautiful Christmas Decoration Ideas).
This Christmas village wall-hanging should not take you longer than two hours to make. In order to give you a better visual guide though, I put together this video to show you how to go about it.
Materials Required for the Christmas Village Wall-hanging
- a wooden branch about 1 meter long (Elisabeth found one for me in a field and so we re-purposed it).
- a piece of felt
- a piece of a fabric of your choice (i.e. old denim)
- glue
- marker
- stapler
- string
- pair of scissors
- piece of cardboard
- battery operated fairy lights or copper string lights
- ruler (optional)
I hope you enjoy this! Don’t forget to tell me what you think of it. If you do like it, give me a thumbs up. Lastly, allow me to suggest some more Easy DIY Christmas Decorations.
XO,


Love your little Christmas village ??